

Adjusting the brakes on a mini moped is a crucial maintenance task that ensures your safety and the optimal performance of your vehicle. As a supplier of mini mopeds, I understand the importance of providing clear guidance on this topic. In this blog post, I'll walk you through the step-by-step process of adjusting the brakes on a mini moped, offering practical tips and insights along the way.
Understanding the Basics of Mini Moped Brakes
Before diving into the adjustment process, it's essential to understand the different types of brakes commonly found on mini mopeds. The two primary types are drum brakes and disc brakes, each with its own unique characteristics and adjustment requirements.
Drum brakes are a traditional braking system that uses brake shoes to press against the inside of a drum attached to the wheel. They are known for their simplicity and durability, making them a popular choice for mini mopeds. Disc brakes, on the other hand, use a caliper to squeeze brake pads against a disc rotor, providing more powerful and consistent braking performance.
Tools You'll Need
To adjust the brakes on your mini moped, you'll need a few basic tools. Here's a list of what you'll typically require:
- Wrench set: A set of wrenches in various sizes will be needed to loosen and tighten bolts and nuts.
- Pliers: Pliers can be useful for holding small parts in place and making adjustments.
- Screwdriver: A flathead or Phillips screwdriver may be required to remove covers or access adjustment screws.
- Brake adjustment tool: Some mini mopeds may require a specific brake adjustment tool, which can usually be purchased at a motorcycle parts store.
Adjusting Drum Brakes
If your mini moped is equipped with drum brakes, follow these steps to adjust them:
- Locate the adjustment screw: The adjustment screw is typically located on the back of the drum brake assembly. It may be covered by a rubber or plastic cap, which you'll need to remove.
- Loosen the locknut: Use a wrench to loosen the locknut on the adjustment screw. This will allow you to turn the screw freely.
- Adjust the brake shoes: Turn the adjustment screw clockwise to tighten the brake shoes or counterclockwise to loosen them. You'll want to make small adjustments and test the brakes after each turn to ensure they are not too tight or too loose.
- Check the brake play: Once you've made your adjustments, check the brake play by pulling the brake lever or pressing the brake pedal. There should be a small amount of free play before the brakes engage. If there is too much play, continue to adjust the screw until the play is within the recommended range.
- Tighten the locknut: Once you're satisfied with the brake adjustment, use a wrench to tighten the locknut on the adjustment screw. This will prevent the screw from loosening over time.
- Test the brakes: After tightening the locknut, test the brakes again to ensure they are working properly. Make sure the brakes engage smoothly and provide sufficient stopping power.
Adjusting Disc Brakes
If your mini moped has disc brakes, the adjustment process is slightly different. Here's how to adjust disc brakes:
- Locate the caliper adjustment bolts: The caliper adjustment bolts are usually located on the side of the caliper. They may be covered by a dust cap, which you'll need to remove.
- Loosen the bolts: Use a wrench to loosen the caliper adjustment bolts. This will allow you to move the caliper slightly.
- Center the caliper: With the bolts loosened, gently squeeze the brake lever or press the brake pedal to center the caliper over the disc rotor. You may need to use a thin object, such as a feeler gauge or a piece of paper, to ensure the caliper is centered evenly.
- Tighten the bolts: Once the caliper is centered, use a wrench to tighten the adjustment bolts. Make sure they are tightened securely, but be careful not to overtighten them.
- Check the brake pads: Inspect the brake pads to ensure they are evenly worn and have sufficient thickness. If the brake pads are worn beyond the recommended limit, they will need to be replaced.
- Test the brakes: After making the adjustments, test the brakes to ensure they are working properly. The brakes should engage smoothly and provide consistent stopping power.
Additional Tips and Considerations
- Regular maintenance: It's important to perform regular maintenance on your mini moped's brakes to ensure they are in good working condition. This includes checking the brake fluid level (if applicable), inspecting the brake lines for leaks or damage, and cleaning the brake components.
- Follow the manufacturer's instructions: Always refer to your mini moped's owner's manual for specific instructions on adjusting the brakes. The manufacturer's recommendations may vary depending on the make and model of your vehicle.
- Seek professional help if needed: If you're unsure about how to adjust the brakes on your mini moped or if you encounter any problems during the adjustment process, it's best to seek the assistance of a professional mechanic. They have the knowledge and experience to ensure the brakes are adjusted correctly and safely.
Conclusion
Adjusting the brakes on a mini moped is a relatively simple task that can be done with a few basic tools and some patience. By following the steps outlined in this blog post, you can ensure that your mini moped's brakes are in good working condition and provide reliable stopping power. Remember to perform regular maintenance on your brakes and seek professional help if needed.
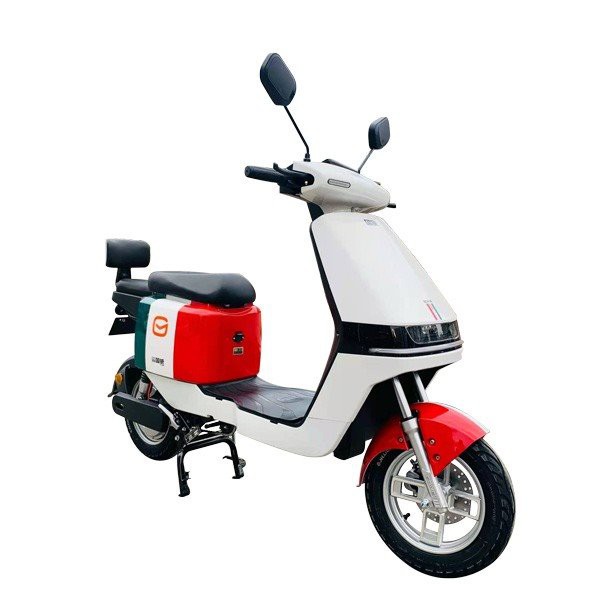
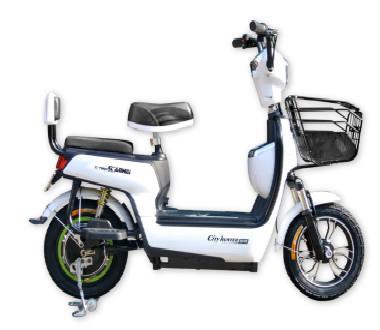
As a supplier of mini mopeds, we offer a wide range of high-quality vehicles to suit your needs. Check out our 48V 20Ah EBike, Cute Electric Mini Electric bike, and Electric Bike For Young People for more options. If you're interested in purchasing a mini moped or have any questions about our products, please don't hesitate to contact us for a purchase negotiation.
References
- Motorcycle Maintenance Manuals
- Online Motorcycle Forums
- Manufacturer's Owner's Manuals